Showing posts with label sander. Show all posts

Monday, August 20, 2012

DIY Pallet Signs!

 Courtney's cute mom saw a darling wood plank sign of a pink elephant a bit ago. She really liked it. But the elephant was pink...it only had TWO legs and it had a hefty price tag.

So, the two of us decided to make her one- exactly the way SHE wanted it and for WAAAAY less money.

It began this way:  Home Depo wood planks for $.97/ piece. Cut to size- we'll be able to use the scraps for another project- we really actually didn't spend that much on this board. We cut them (more specifically Mr. Fabulous did).

We assembled them will additional planks and some nails.


 We ended up with this LOVELY 4'x3' bunch of planks, ie, blank CANVAS.....


We started painting. We started with ivory spray paint. Just a heads up. The paint SOAKED into the wood doing almost nothing. We tried spray paint primer...yeah right. We went BACK to Home Depot and purchased paint...mixed by the sweetest older gentleman. We bought some rollers and started again.

It worked terrific and it all went pretty fast!


When it was dry (two minutes later) I started sanding the boards for that "antiqued-vintage" look we were going for.


After the sanding, we stood the board up, darkened the garage and then using a projector to project the exact elephant image we wanted up the on the board, started tracing it onto the board.


We brought it inside to my kitchen and started painting the elephant! We had debated over what type of brush to use. We bought all different kinds and ended up staying with what we knew best- foam brushes! It was the right choice. It gave us the control we needed to keep lines straight but also the ability to show some of the wood's 'character'. 


We did touch up with a smaller brush, though. Note the eye in this picture compared to the finished elephant eye. It was nice to have that option.


After the paint dried, we sanded again. We wanted it a little distressed- but not a whole lot.


Here's the finished product! On it's way to Countney's mom!


It's TULLE this week on MindyMaes Blog! Head over there for some cute ideas!

Friday, June 1, 2012

Nikki's Niche- Bathroom Sign Repurpose

Here's a pre-silhouette-esque tutorial for you.... Something for EVERYONE to do with the simplest of tools....paper, printer and a STEAK knife! Yeah, you read right.

I started with a bathroom fixture...not sure how I got it or where it came from. It was a little too flowery for my husband's taste...
I started by spray painting this part turquoise.
While that dried I washed a section of a military parts sorter that we've used for a variety of projects in our house.
It used to be a divider between some shelves.
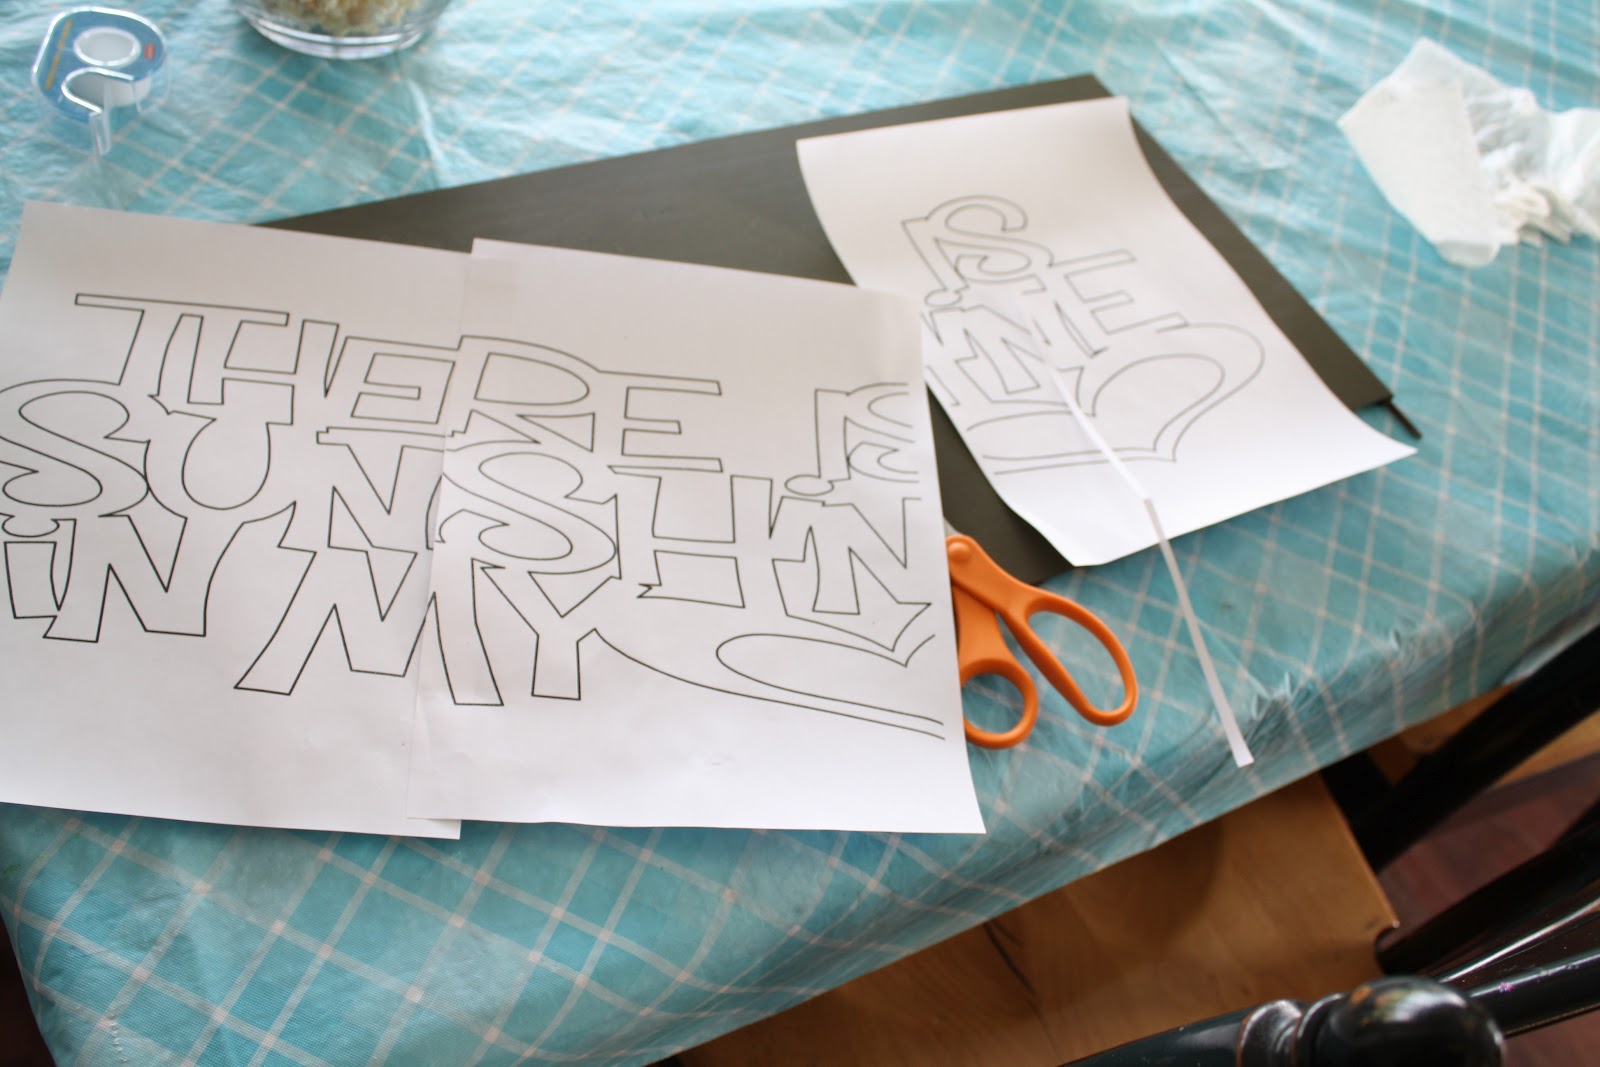
I printed off a a design {which, yes, is from a silhouette} in segments so that it was big enough to cover the area I wanted to paint.


I taped it down to the metal so that it wouldn't move.
And then, using the stake knife you see in the upper corner of the picture, I preceded to cut the letters from the paper. To be honest, it worked fabulously!
I painted the letters with acrylic paint- probably not my best choice (I'd love advice on other options for next time).

I wanted a little more color ...so I reapplied the paper pieces and took it back outside to spray paint.
It certainly looked more "rustic".
I took a sander to it.
I was pleasantly surprised to find a little red under the green paint.
We trimmed the edges a bit so that it would fit better into the center of the holder.
And here it is...the first of my downstairs bathroom...stencil-cut with a steak knife and painted with dollar-store brushes.