Showing posts with label Tutorial. Show all posts

Tuesday, August 28, 2012

DIY (Ikea) Tulle Lampshade....

 
I saw this super-cute lamp in my Ikea catalog. I really wanted it. It was such a neat looking lamp. Then I saw the price tag. $99.00. Dang. I don't think I've ever paid more than $10 for a lamp. It was a good thought.
 
 
Then I had an even better idea. I found a couple lamp shades at the last DownEast  sale. I took all the paper off of it and grabbed the tulle I had in my craft stash.


I began by cutting the tulle into 2-ft pieces. I cut the tulle so that it was enough to tie around the top with excess and to tie/glue at the bottom of the lamp shade with excess as well.

Once the pieces were cut, I combined four pieces together and then tied them at the top of the lamp- four to each "side" and then a group of eight pieces of tulle around each of the wires going down the side.


 As you can see- I have quite a bit of excess tulle. With one end of the tulle tied at the top, I let the rest flow down, in preparation for gluing to the lamp shade form.


 I tied the corner tulle (covering the additional form wires)  to keep it out of the way- it's purple mainly to differentiate the parts.


I pulled the tulle in sections (there were four- one for each side of the form) one-at-a-time through the center of the lamp shade form. I hot glued the INSIDE of the form first and laid the tulle flat against it- as neatly as possible. When that cooled I glued the OTHER side of the form and pulled/wrapped the tulle around that. This allowed the tulle to flare out to the sides of the lamp shade.

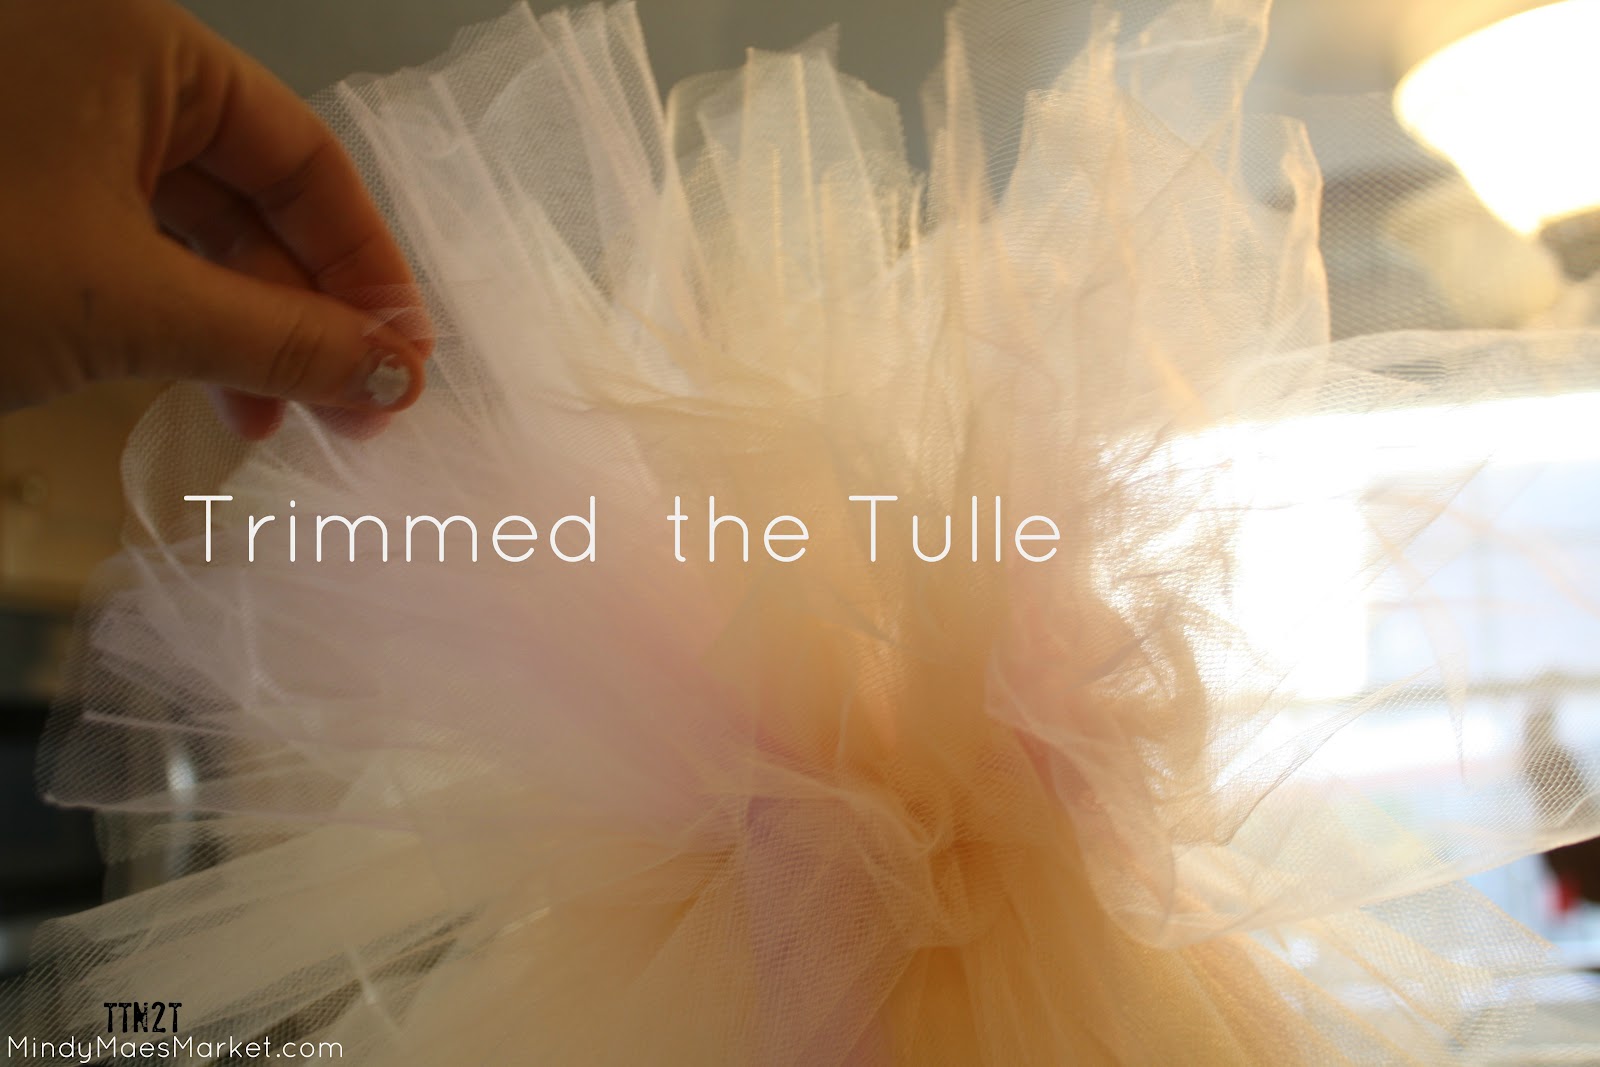
After I glued it all, I trimmed the bottom tulle so that it was approx. 3 inches long.

Here's the lamp with a trimmed bottom and untrimmed top/

Then I cropped the top. I cut the tulle down to match the length of the bottom.


Using the extra tulle that I had been trimming off I started to add more "poof" to the bottom half of the lamp.

I gathered approximately four-ish small pieces together. I folded them down, glued down the center (folded again, so the pieces were all glued together) and then glued this filler piece to the underside of the lamp.

It looked like this:
 I just repeated what I had done with the first tulle - just smaller 'chunks'.

After I added what I wanted I turned it over and trimmed it down {again}.

I really am pleased with the way it turned out. I must say that I really thought this was going to be a craft FAIL. So, my total for this lovely little lamp? Tulle: $7.00, Lamp: $3.50, Lamp Shade $1.50. Total {ish} $12.00! Far cry from $99.00- so I'm pretty happy about it.


Check out the AMAZING spray paint tutorials submitted this week over at MMMblog!

Thursday, August 23, 2012

Water You Wearing????


The boys in my house had a baseball night. They all left. And what do the girls do when there are no males around? We craft. We get out all the glitter and glitz and fabric and glue and we make stuff.
We decided to make bracelets. I've seen more than a couple tutorials online for different ways to do them. Here's our take. Keep in mind my girls are 4 and 10...so you can gage them for own little ones.
 
 We started with drinking waters earlier in the day- in preparation for the evenings' activities. The girls took the labels off so that the bottles started like this:
 
Then I cut the top and the bottom off
(I kept these- for some future products, just in case you hate wasting 'opportunity', too.)

Then we cut the bottle open. This allows you to {sorta} lay it out flat so that you can cut it into the thickness you want your bracelets.

This picture looks weird...I was holding the camera AND trying to show you my cutting, too. Just know, you can determine the size you want to cut here. Put it around your wrist and measure it out.
 
 Also, you can determine if you want to cut it to size length-wise, too. I cut mine down to size...but you could wait til later, too.

We used duct tape to cover the bottle- it gives more texture: something for everything else to hang-on to. After I laid the smaller (the girls') bracelets down I was able to fold the tape over length-wise, so it was fully covered (the hot-dog way, my daughter would say). The larger bracelet I folded the tape over the top (the hamburger way...I have no idea).


After the bracelets were covered in duct tape, we decided what we would cover them in and what we would "make them pretty" with. Here were our basic tools:

We glued the ric-rac to the bracelet- be careful not to touch the bracelet, it will melt.
 
 Then we added a rolled-fabric flower and a cute button!


My bracelet was twice as thick as the girls'.

I used orange satin ribbon and the glue gun to attach it to the bracelet. I wanted to do something a little 'Anthropology-esque'.

I wrapped mine in a rubber band while I helped the girls finish theirs.

I won't lie. We got these really great enamel necklaces in this last week.  I took it apart. I wanted to use it as a bracelet. I still need to clip the loops off of the flowers, but overall I love the look.


 We had a really fun time. I think if I was to change anything- I would probably double-up on the plastic bottles for my bracelet. It was terrific recycling and re-using items to make something my girls wore all day today.

Stop into the shop to see what's new or pop over to MMMblog to see what's being featured today!


Tuesday, August 21, 2012

Kiddo Craft...Sort of. ;)


I invited a few friends over with the FULL intention of letting the kids do this craft. I was going to visit and oversee the glue-gun usage...that was all. UNTIL my friend starting pulling out all these MMM goodies I have stashed in my office. Add to that the really INCREDIBLE buttons we just got into the shop...we couldn't resist.

We started with the SUPER cute felt MMM just started selling. We each picked a piece and measured on the "wrong" side of the felt- or the side you don't want showing at the very end. We measured 5 1/2 inches by 7 inches - marked the felt with a ball point pin .

I marked mine in a couple places so that I could "connect-the-dots" I used a piece of paper to trace straight measurement lines onto my felt. I cut it out with REGULAR scissors first.

Then I used pinking shears to cut around the outside. You could omit this part, or only do the inside (the opening) part or just the outside edges...whatever!

We folded the felt so that the two shorter sides met up in the center. I put a {little} dab of glue on each of the inside corners of the felt so that it would hold while I sewed. I hate when multiple parts move around when you are trying to complete something.

We all just did a basic stitch. We used some BAKER'S TWINE I had lying around- it was my friend's idea. She's pretty clever.


She mentioned to make sure you start on the inside of the edge when you start so that you don't have the knot on the outside....and to end the same way.


After we sew the ends, we began embellishing! We let the kids tell us what ideas they had for their holders.


Did you spy buttons, ric rac (both BIG and SMALL), baker's twine, buttons...colored, shapes and hearts, lace tape, AND ribbon?  WHEW! It was a FUN, FAST craft and I think we may make some more- after we buy a new glue gun.  Did you know that a glue gun struggles to work properly after a four year-old pulls a half-melted stick out the wrong end? Yeah. I didn't either.


Check out the TULLE feature over at MMMblog!