
So, I cheated a little. I waited to finish my clipboard. I wasn't trying to have mine any more special than anyones or more "crafty"...I just didn't have enough hands at the time. I liked how it turned out.
I started with my clipboard painted with acrylic paint and dried (1). I had this random piece of plastic from when I ordered shoppping baskets for the shop {shipping packages, mostly} (2).
 I used a metal letter I had as a template and cute an 'n' {for Nikki}(3).

Pulled together some random washi tape that I had in a bin....

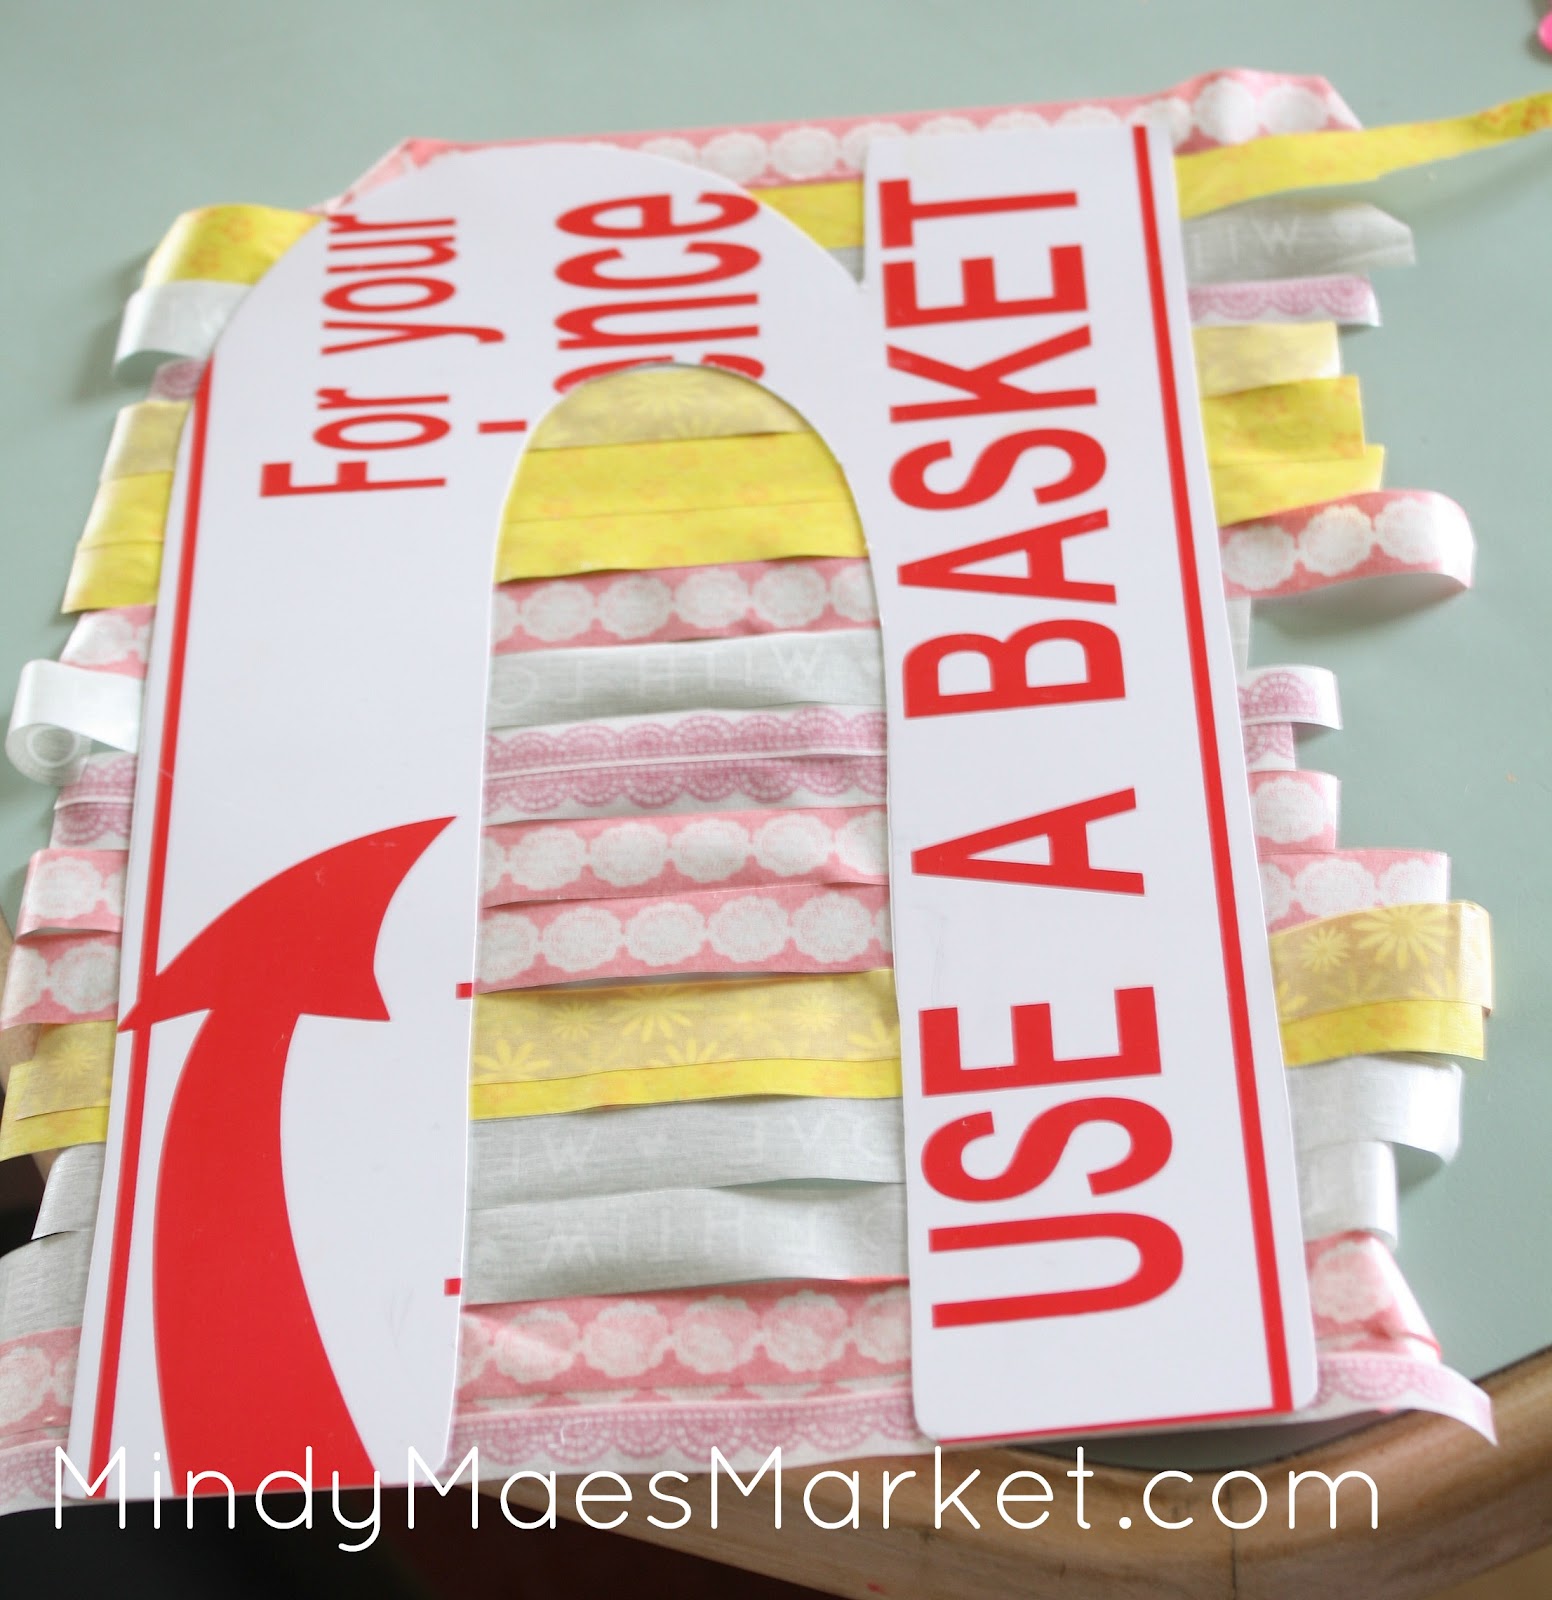
and started to apply the washi tape in a random pattern.

At the end, I carefully peeled the tape up, keeping it affixed to the letter. (It started to tear a couple of times and the top washi strip had to be replaced with a new one.)

I started to cut the tape (as you can see in the lower right-hand corner) and opted to wrap the washi around the letter instead. I was happy with the choice. Way easier, cleaner, smaller margin of error.


I started with my clipboard painted with acrylic paint and dried (1). I had this random piece of plastic from when I ordered shoppping baskets for the shop {shipping packages, mostly} (2).


Pulled together some random washi tape that I had in a bin....

and started to apply the washi tape in a random pattern.

At the end, I carefully peeled the tape up, keeping it affixed to the letter. (It started to tear a couple of times and the top washi strip had to be replaced with a new one.)
I started to cut the tape (as you can see in the lower right-hand corner) and opted to wrap the washi around the letter instead. I was happy with the choice. Way easier, cleaner, smaller margin of error.

I flipped it over, applied some hot glue and voila! A neat little character clipboard.

Tomorrow, I'll show you the WHOLE clipboard station!
Check over at Mindy Mae's Blog for our first Burlap Feature from out Link-up!
Just sayin' hi from Mindy Mae's Market's giveaway! This is a fantastic idea!
ReplyDelete