Showing posts with label wreath. Show all posts

Friday, July 13, 2012

Nikki's Niche- Cupcake Liner Wreath

You've noticed I've been crushing on cupcake liners lately?  Totally guilty. I realized just the other day, as I was cleaning up from another project- I had quite a few cupcake liners just waiting to be used. Not just one size,either...THREE!  So I got to work.

I grabbed my supplies making sure my pencil didn't have a lead and wouldn't poke through the papers on it's own (without MY additional pressure).

For the center of the top of the wreath, I wanted some texture and some ability to "fluff" the wreath later. I layered the liners smallest to largest, each fitting in the next ( you could also do it the other way).

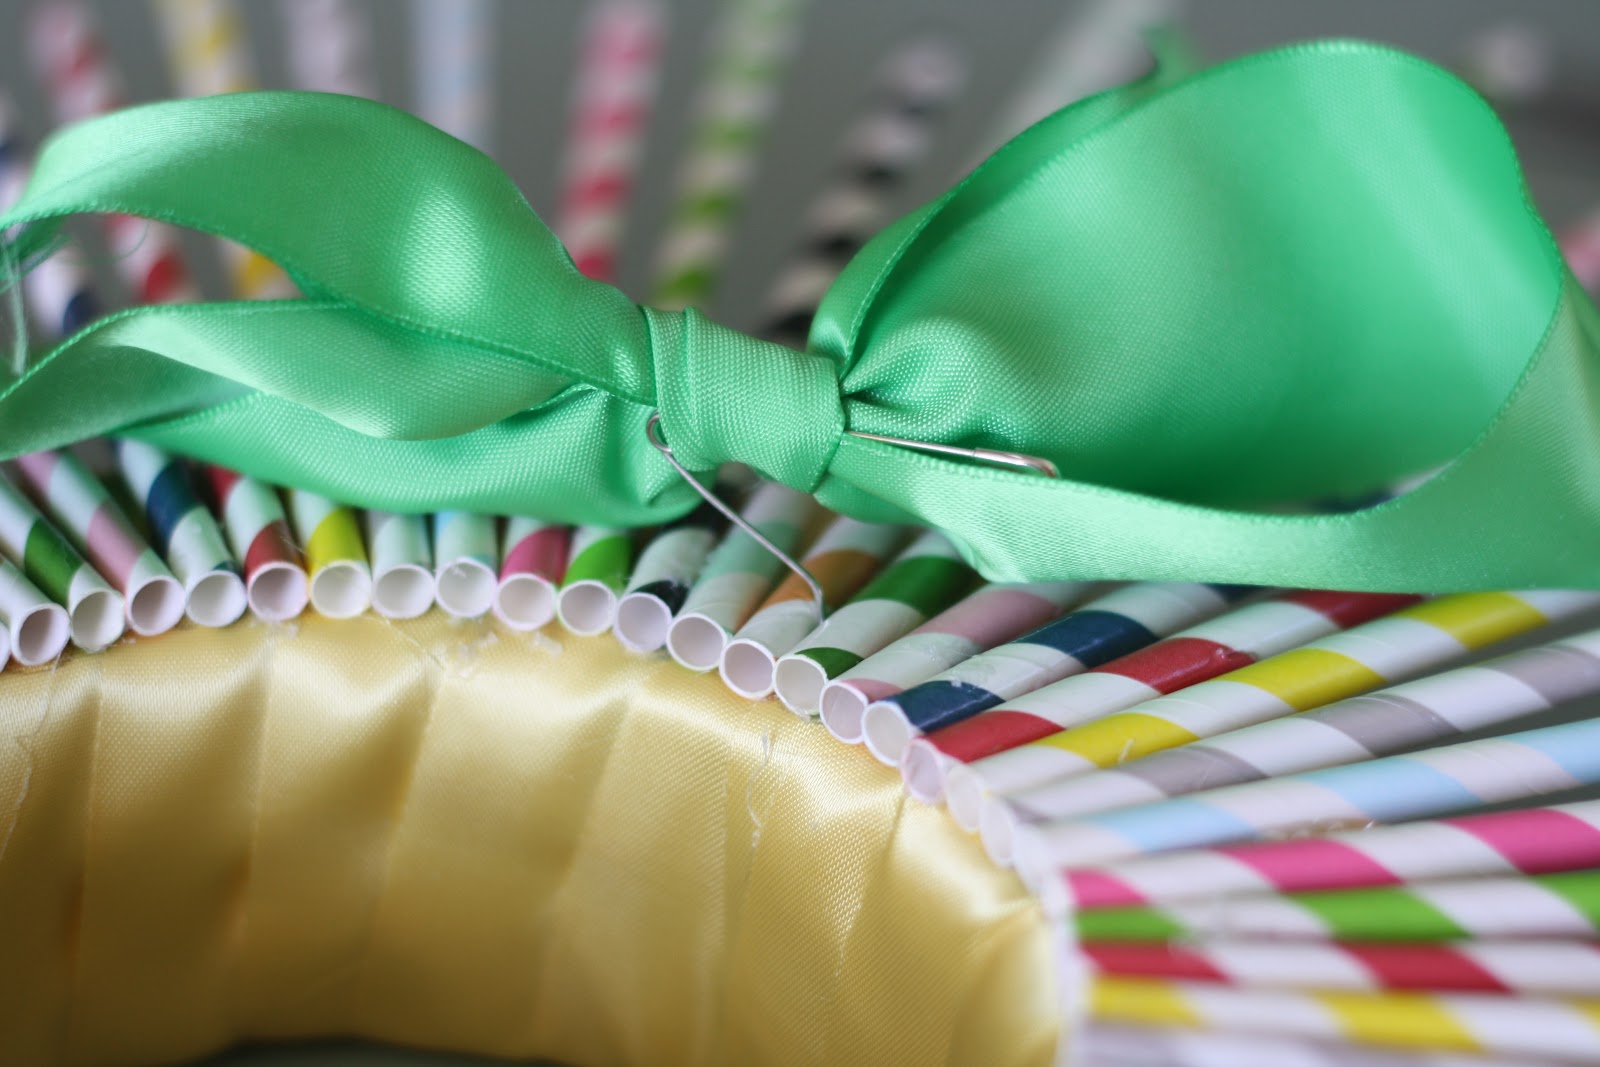
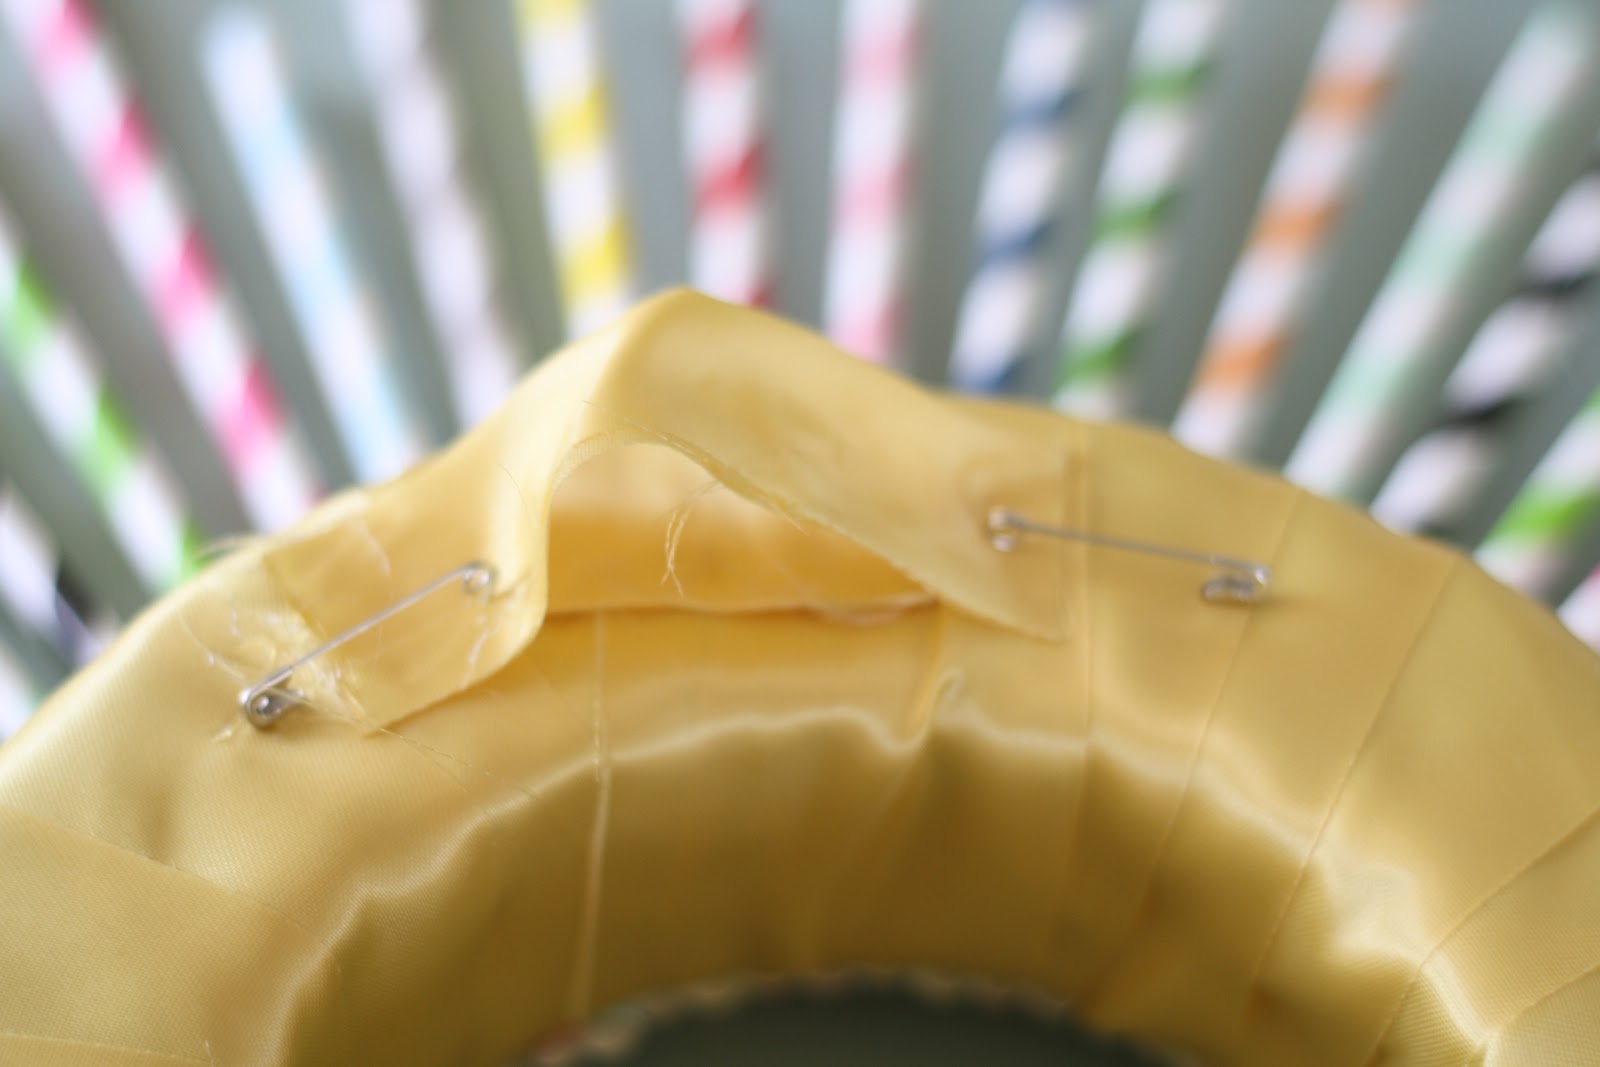
After I layered them, I wrapped them around my dull but rounded pencil, applied hot glue around the tip and gently but firmly inserted them into the wreath form. If you poke holes through the liners- you often see through the liners to the wreath. I don't want that, so if I do poke through I glue another one in that isn't.

I want the wreath to look balanced- so I try and work "balanced" I numbered these for you so that you can see instead of just working around the wreath- I pop back and forth, trying to use the same number of liners on each side.

I ended up using JUST the mini liners on the inside- the larger ones closed off the hole. I also mostly used mini liners on the outside, but that was just because that's what I had the most of.


I'm pretty happy with it so far. It will be great to dress up and use in many different places- I love the look and the color.

Friday, May 25, 2012

Nikki's Niche- Wrapping Paper Wreath...Cabochon Style!

I LOVE doing crafts will items I haven't really used...or tried to use and failed....which brings me here.

I started with some wrapping paper I purchased up at Swiss Days a couple of years ago and a wreath I started for St. Patrick's Day and never finished- and my toddler has been playing with it.

I cut strips about 3 inches wide down the length of the wrapping paper.
I folded in the side of paper to get a more "finished" look.

The I folded down the other side.

I began by gluing the first paper strip to the back of the wreath and then wrapped it around and around the form.

I started the new strips right over the top of the last strip and kept on wrapping. Until I got this:

I added cabochons. I started with some of the largest ones.


I wanted a random, colorful mix....then I used some left-over ric-rac from MMM.


Here's my bright, fun accent wreath!

Tuesday, April 10, 2012

Springy Straw Wreath

I loved the wreath Jen did over on TT&J...
so I decided to give it a Spring-y Twist!


I started with assorted paper straws....{I used about 76 straws}


 a foam wreath form from the dollar store, a glue gun...

 and I had some old satin-binding from a long-ago quilt project.

 I first cut the binding into two pieces, so that it would go further...just in case.

And  then I started wrapping.
{Don't mind the finger dents- my two year-old was "helping"}
I made sure that the finished edges were the ones showing....so wrap your first loop and then make sure the next loop covers the edge that would fray.

I reached the end of the form, cut the excess, folded the end of the ribbon and glued it down.

I started witht the straws...a little nervous about placement... Something I will say, I wish I would have over-placed the straws a little more- further into the middle of the wreath. Instead of placing them at what looked like the end of the form.

 I first started with a pattern of straw colors and then at the end I had to switch it up a bit because a whole pattern wouldn't fit. See if you can tell where that was....

I liked the look of differing size straws so I cut them in an every-other-one pattern. I just eye-balled it. I rather like the randomness of it that way.

 I finished it off {for now} with a bit of green binding I also had left over...tied it in a bow and secured it with a safety-pin {so that I can change it out next time I feel the need}.


Last, I formed a loop with some left-over {again} yellow binding, folded and glued over, glued to the form and then secured with safety-pins. {I have issues with trusting the staying power of hot glue.}

 Here's the finish product...I LOVE the colors and the airy-ness of it!

 You'll see where this ended up in a future post!
Tip Junkie handmade projects