Showing posts with label vinyl. Show all posts

Thursday, August 30, 2012

Loverly to be Late....


Getting ready for school involves getting classroom procedures in order...and everything you need to make them happen, too. I want my students not to interupt the class when they come in late. I needed something that would hold a clipboard and a place for their admits. Well, well. I just happened to have this little item- I think it was a wedding gift, no less.
 I knew I would use it- one day! ;) I pulled it out of the garage, cleaned it up, took the hardware off and started painting. Our school colors are navy, blue and orange.
 I liked this color a lot. It's not too navy OR too bright. A couple of coats and we were good to go.
 I had a clipboard lying around (no joke. I'm like addicted to things with clips.) I taped the clip and spray painted it orange (obviously).
 After it dried I flipped it over, hot glued ric-rac to the back and covered it with felt.
 I had a piece of paper that was laminated- I put it inside the frame and made marks where the corners of the frame were, took it out and cut the rectangle out. Then I painted this laminated paper orange, too.
 I did the same thing with this piece of white vinyl. I printed 'Late!' on a plain piece of printer paper- and using my trusty razor I cut it out of the vinyl. I taped the printed word over the top and cut through both papr and vinyl.
 I printed "admits" out, too. I cut it out and fit it into the label holder.
 I placed the vinyl over the top of the orange-painted laminated paper. I printed 'sign in here', cut it out and simply taped it to the sign. (I free-handed the arrow...aren't you impressed?)
And here's the final project. A sign, a place for admits and a clipboard for them to sign-in with! One step closer to school starting as well!
 

Thursday, August 16, 2012

Industrial Parts Organizer RE-DO into Kitchen Bench


I'm really disappointed. My husband and I purchased this monstrosity of a parts organizer off of publicsurplus.com a while ago. It was HUGE. Picture this: 3 {THREE} individual metal cabinets made of pure metal- together they were about 5 foot high and 10 feet long. Drawers galore...dividers...cubbies...pulls...side tool holders. All metal. We bought it for 100 clams, picked it up {with the help of a forklift} and happily brought it to where we were living.

 We moved a short time later. I think my brothers are still cursing us and our prized possession.

When we moved we had a desire to bring this wonderful piece of work into our home in some sort of beautiful, functional way. I had the idea to chop the top {meaning the drawers} off of the units and bring them inside to use as the kids' craft storage area and extra seating for when family is all there. {I have this THING about everyone being able to sit in the same room, at least. I'm even MORE excited if it's all at the same table!}

So we did. We saw the crap out of this thing, put feet on it and brought it indoors (after A LOT of cleaning). The cubbies are still in the garage waiting patiently to be made into a makeshift mudroom type situation.

I was at Home Depot with the family the other day and noticed that they were selling foam mattresses for $20---TWENTY BUCKS! These things usually go for substantially more- which is why I haven't yet tackled this project. Until NOW. 

I started to cut it with my scissors I was so excited to get started. It didn't work. I ended up calling a friend to borrow her electric knife {mine bit the dust years ago}, which was WAAY easier. 
 Once I got that cut, the husband {I think I'll start calling him Mr. Wonderful- it might get me some points} cut me some plywood 7 feet by 2 feet.

He also had a desire to keep the seat ON the bench. With four kids things are going to move, break, bend and, did I say break?  So we drilled some holes through the plywood and the top of the metal bench so we could anchor it.

I picked up some beige twill and some clear vinyl {over in the oilcloth section} in the fabric department of Walmart. We were there fulfilling the ever-growing list of needed items for my children to succeed in school.


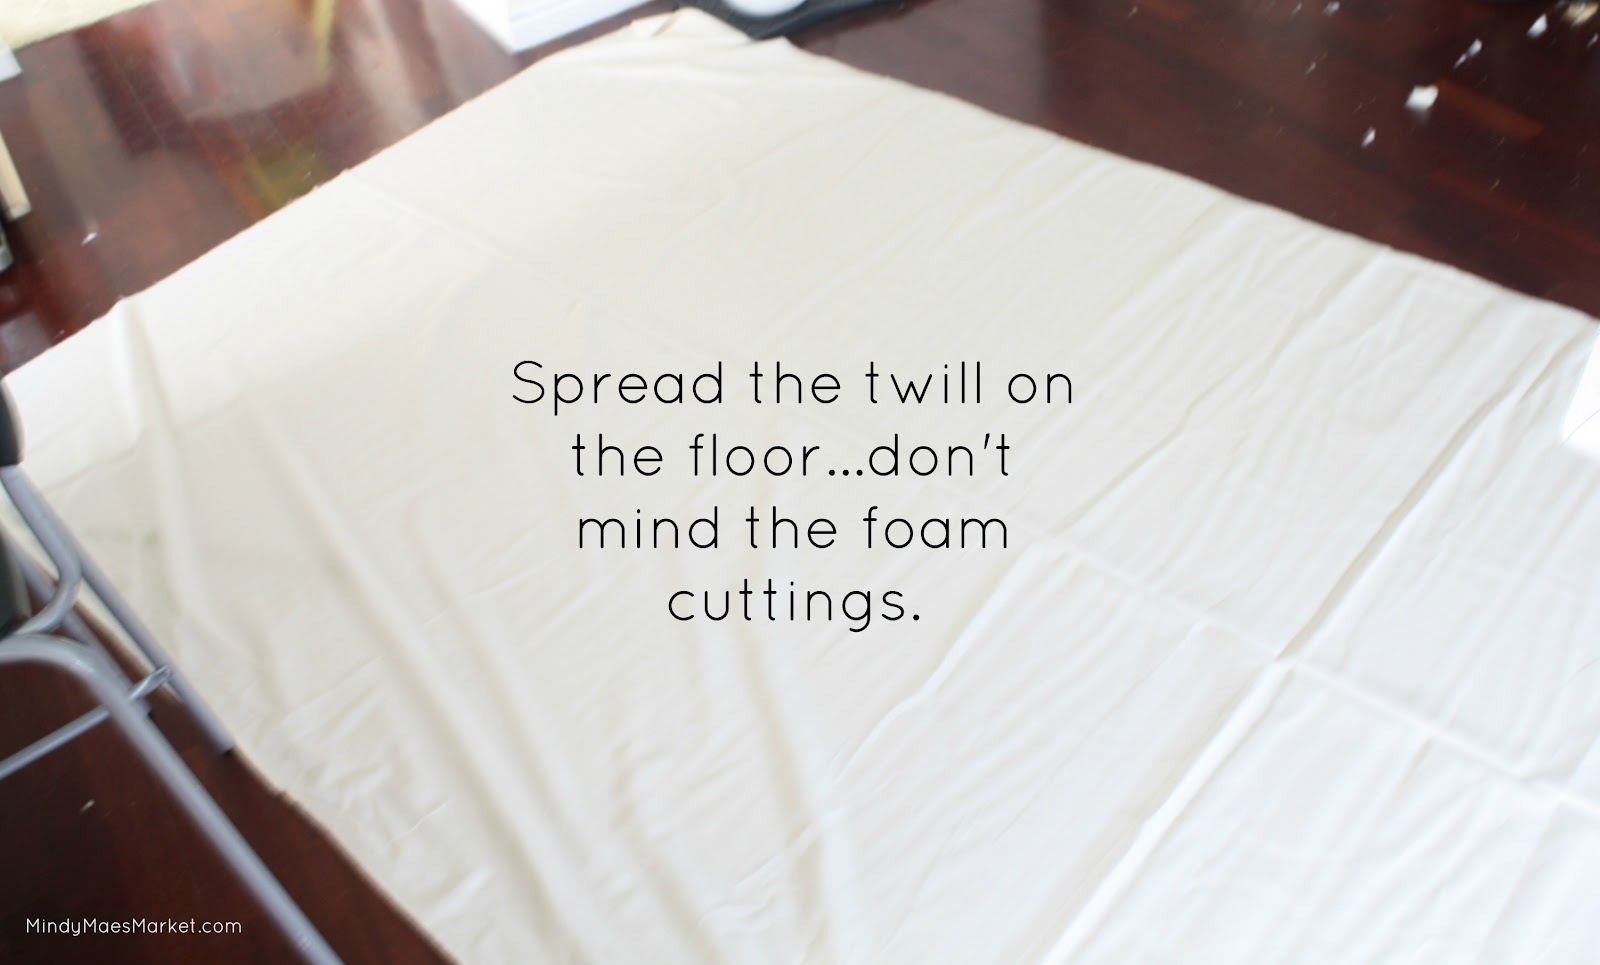
 First (I don't have pictures because we were both involved), we hot glued the foam to the plywood. It made it easier to flip over and lift, etc. I recommend it. We then spread the twill out and amidst the scraps of additional foam, we laid everything out.

 Once we laid everything out, we pulled the edge of the fabric around the side of the board, folded it under once and stapled it with a staple gun. We did a whole side first, then the opposite side and finally we "hospital cornered" the ends and stapled them, too. Then we flipped it over to see how it looked.

We wanted to add a little to it- not a lot. So I pulled a wooden letter off of my mantel, some acrylic paint and a sponge brush out of the organizer and a paper plate together.
 We practiced this more than a couple times (make sure to double up your fabric, in case of bleed-through) to see what we liked best and if it was going to work at all. We ended liking thick paint strokes over the letter. It got too messy when we painted paint directly onto the letter and was less textural.

We pressed the letter into the fabric as evenly as we possibly could.

We rubbed the letter into the fabric- like you would a stamp into paper...or fabric. ;)

It wasn't enough. So we looked around the house and found this little darling from my brother's wedding a bit back.


We practiced our location, painted the rim and applied it to the fabric where we liked it the most. 

 We let the paint dry and then we got ready to repeat the twill-wrapping process with the clear vinyl. Otherwise, one good milk spill and we were out a bench cushion.

This was what we ended up with...a fully attached, vinyl-covered bench cushion that rests upon metal that used to house truck parts. HOW COOL!


Thinking about adding a back...a mini-back. Like with the part that I cut off originally {4"x7'}. What do you think?

Tuesday, August 7, 2012

Livening Up My Laundry Room

 This little project has been long time due. I purchased this vinyl from Pick Your Plum, oh, about a year ago. I bought TWO, actually. I usually do- just in case I mess up, I need a gift, I come up with a super-duper double idea...you know what I'm saying, I'm sure.

SO, unlike Artsy-Fartsy Mama, my vinyl was black to start with. I had these cute plaques already cut for me...they had a white laminate on them...so I worked with what I had. I first applied the {black} vinyl. Then I sprayed them with Krylon primer. Then when that dried {I think...I get kind of impatient.} I spray painted them with color. I used Valspar colors...if you are interested, let me know and I can get you exact colors.


I let those dry....more or less....and then I OH, SO CAREFULLY {you probably don't need to be soo careful if you let them dry properly} peeled the vinyl away from the plaque showing the white that I started with.


I did this thee times...one with each of the colors and plaques...to get this:


Then I had to hang them. I KNOW I pinned a pin SOMEWHERE about using soda pop tabs as hanging gear...or whatever the proper term SHOULD be. I just so happened to have hung on to a tab or three from a lunch this last week. {Not all mine...just two. ;)} 


 I couldn't find my trusty staple gun so I pulled out my next best option below  the hot glue I was also out of.

I let that dry as long as I could stand {a couple of hours because I left the house}. I used regular ole nails to attach them to the wall. I particularly liked using the pop tabs because I could 'mark' the wall with them to indicate where I wanted to hammer my nails.


 I hung these at about 1 am in the morning. After finishing some shipping for the store. Interesting that only ONE person woke up...to hammering...in the house...in the middle of the night.
I now don't think dirty laundry is my most pressing of my problems. ;)

Pop over to the store to check out the cute, cute items available this week!

Or over to Mindy Mae's Market blog to see what else is ORANGE!

Friday, May 11, 2012

Nikki's Niche-Writing on the {Bathroom} Wall!

In an attempt to organize my bathroom, I color coded my children's things. Pink, Blue, Purple, and Green now mean something more than colors...they constitute ownership in my house. We had some vinyl for sale in the store a little while back and I kept one. It was black vinyl, though. I'm kinda on a boycott from black right now...so here's my solution:


I started with some left over planks from a barn-dooresque project I'll showcase in the future. You use any type of plank, really. These were already screwed to a smaller, unifying board on one side.
I taped off the neighboring plank and started painting
 (after I measured the size of the vinyl on the boards for a stopping point).
I did the outsides first and worked my way in...

Then I sanded it to make it look a little "old".
Then hubby helped me drill screws in {it actually is nice being able to JUST take pictures...not trying to drill AND take pictures}in an un-uniform way. ;)

Then I was banned from power tools and hubby cut the planks with a jigsaw.
I instructed him to cut them uneven. ;)  I like things "imperfect".
Then we..I mean HE sanded the bottom of the sign. 
I {yes, me} then applied the vinyl to the sign. 
Then I spray painted the whole sign. I didn't completely, totally cover it with white because I wanted it to look a little worn.
After it dried a little, but not completely, I peeled the vinyl off of the sign. 
This is what it looked like..I sanded it a little bit more and was finished!
I'll show it "in it's place" soon!

Materials used: 
'Bathroom Rules' vinyl from MMM
Pink, Purple, Turquoise and Green Acrylic Paint
White Spray Paint
Hand Sander
Jigsaw
8 Screws
Drill
6 wood planks (4 for the sign, 2 for support in back)