Showing posts with label spray paint. Show all posts

Thursday, August 30, 2012

Loverly to be Late....


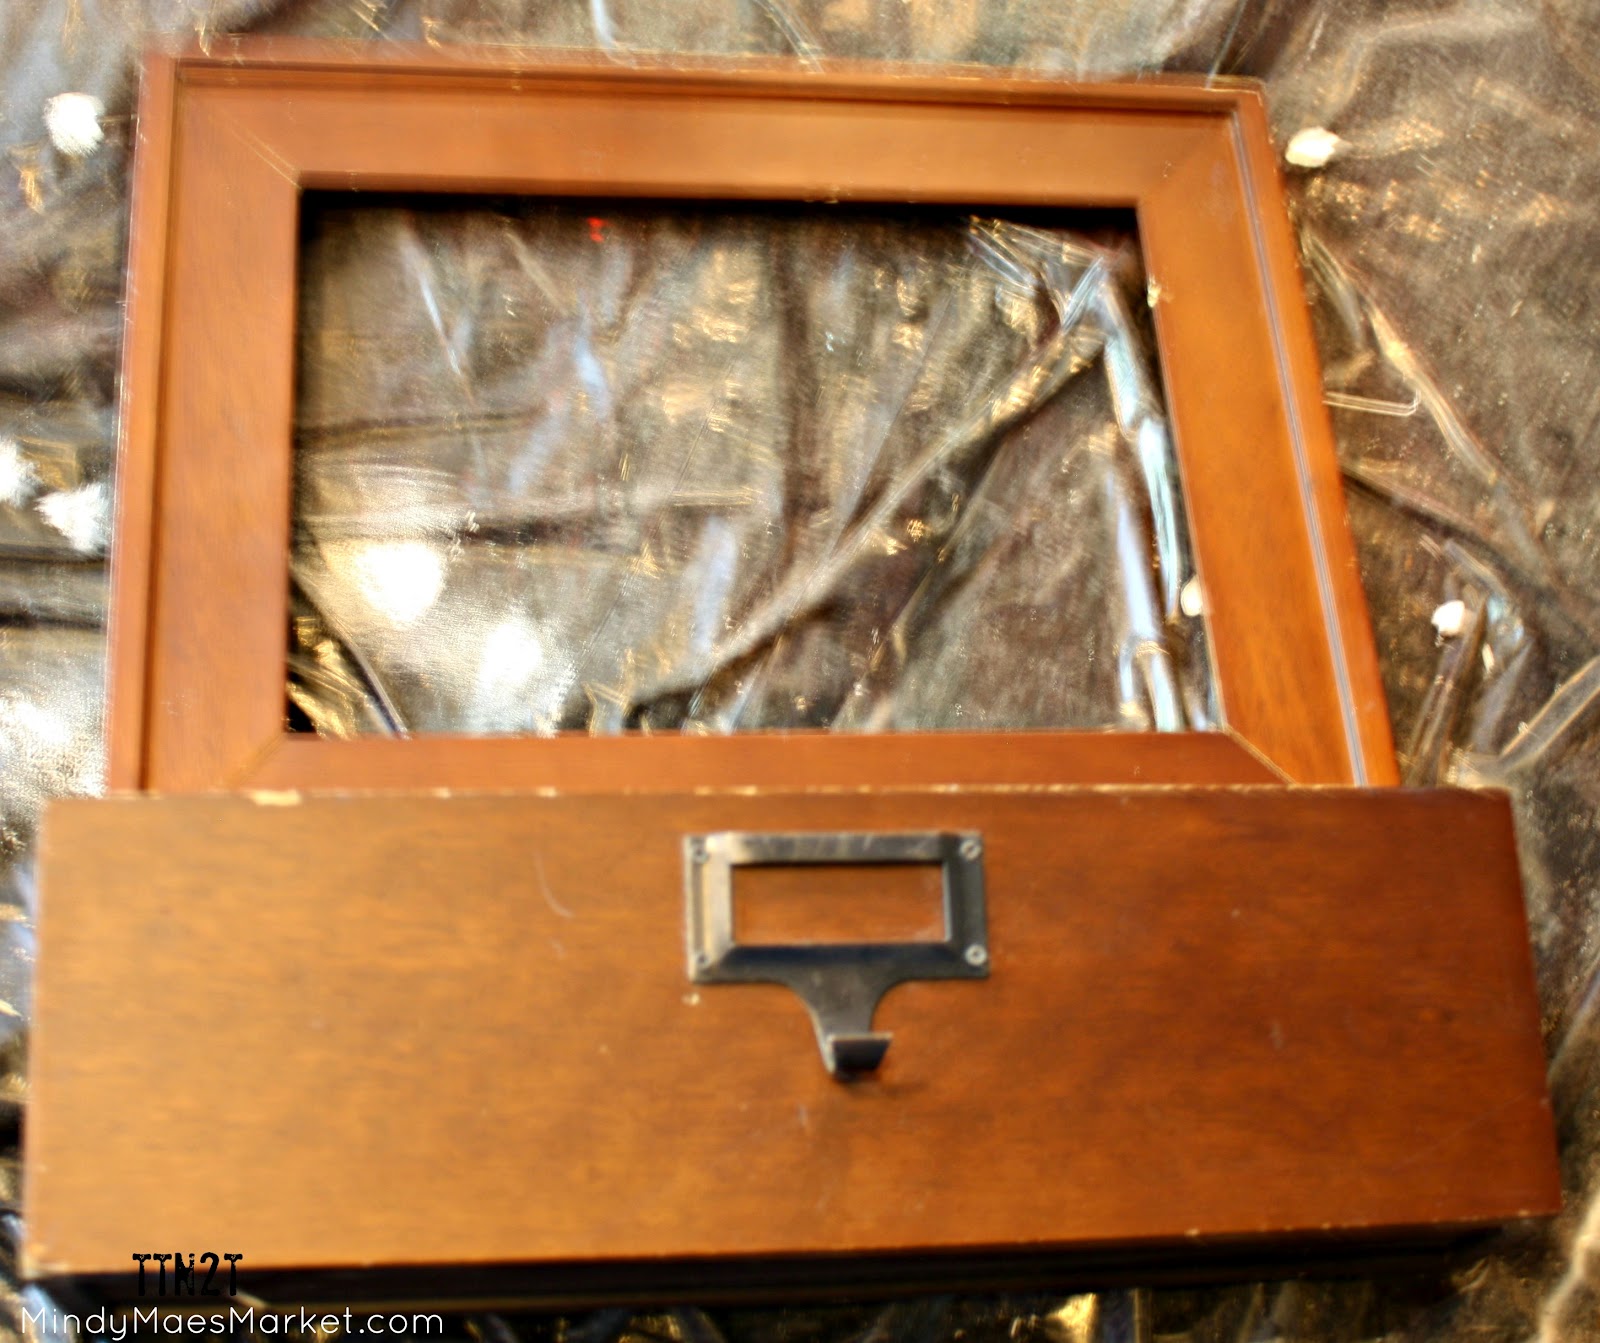
Getting ready for school involves getting classroom procedures in order...and everything you need to make them happen, too. I want my students not to interupt the class when they come in late. I needed something that would hold a clipboard and a place for their admits. Well, well. I just happened to have this little item- I think it was a wedding gift, no less.
 I knew I would use it- one day! ;) I pulled it out of the garage, cleaned it up, took the hardware off and started painting. Our school colors are navy, blue and orange.
 I liked this color a lot. It's not too navy OR too bright. A couple of coats and we were good to go.
 I had a clipboard lying around (no joke. I'm like addicted to things with clips.) I taped the clip and spray painted it orange (obviously).
 After it dried I flipped it over, hot glued ric-rac to the back and covered it with felt.
 I had a piece of paper that was laminated- I put it inside the frame and made marks where the corners of the frame were, took it out and cut the rectangle out. Then I painted this laminated paper orange, too.
 I did the same thing with this piece of white vinyl. I printed 'Late!' on a plain piece of printer paper- and using my trusty razor I cut it out of the vinyl. I taped the printed word over the top and cut through both papr and vinyl.
 I printed "admits" out, too. I cut it out and fit it into the label holder.
 I placed the vinyl over the top of the orange-painted laminated paper. I printed 'sign in here', cut it out and simply taped it to the sign. (I free-handed the arrow...aren't you impressed?)
And here's the final project. A sign, a place for admits and a clipboard for them to sign-in with! One step closer to school starting as well!
 

Friday, August 24, 2012

Fancified Frames....Via Individual Rivalry and a DIT (Do-It-Too)

My friend Sheena from Individual Rivalry made this incredible frame on her site. I had to try it! I was fantastic - a frame and some glue. I decided to try it.


I had this old frame- completely nondescript. I wanted to use it for a really cute quote I hope to print.

I took Sheena's advice on her site and decided to give puff paint a go. I happened to have some from a craft I started and ended up going in another direction...like THAT ever happens, right?! {Gee, can you GUESS which holiday it MIGHT have involved?}
 
 
I'm not a great artist. My designs are not fantasmic. I know. I tried to copy a frame that I found on the Internet. This is to inspire YOU, okay?

I did the whole frame...I found that the different bottles had different 'flow'. The red came out more prone to air bubbles and splatters. I recommend buying at least two so that you can cover the entire frame and so that you have other means in which to fix flubs.


After the puff paint dried I took it into my garage and gave it ONE {yay!} coat of spray paint.

I did a few more small touch ups- just in case. (Actually, my youngest decided to pick some of the puff paint off and I had to do damage control.)

So now I need to find my way to a printer... but meanwhile- start thinking up some neat twists to this here terrific idea- Thanks Sheena!!
 

Tuesday, August 7, 2012

Livening Up My Laundry Room

 This little project has been long time due. I purchased this vinyl from Pick Your Plum, oh, about a year ago. I bought TWO, actually. I usually do- just in case I mess up, I need a gift, I come up with a super-duper double idea...you know what I'm saying, I'm sure.

SO, unlike Artsy-Fartsy Mama, my vinyl was black to start with. I had these cute plaques already cut for me...they had a white laminate on them...so I worked with what I had. I first applied the {black} vinyl. Then I sprayed them with Krylon primer. Then when that dried {I think...I get kind of impatient.} I spray painted them with color. I used Valspar colors...if you are interested, let me know and I can get you exact colors.


I let those dry....more or less....and then I OH, SO CAREFULLY {you probably don't need to be soo careful if you let them dry properly} peeled the vinyl away from the plaque showing the white that I started with.


I did this thee times...one with each of the colors and plaques...to get this:


Then I had to hang them. I KNOW I pinned a pin SOMEWHERE about using soda pop tabs as hanging gear...or whatever the proper term SHOULD be. I just so happened to have hung on to a tab or three from a lunch this last week. {Not all mine...just two. ;)} 


 I couldn't find my trusty staple gun so I pulled out my next best option below  the hot glue I was also out of.

I let that dry as long as I could stand {a couple of hours because I left the house}. I used regular ole nails to attach them to the wall. I particularly liked using the pop tabs because I could 'mark' the wall with them to indicate where I wanted to hammer my nails.


 I hung these at about 1 am in the morning. After finishing some shipping for the store. Interesting that only ONE person woke up...to hammering...in the house...in the middle of the night.
I now don't think dirty laundry is my most pressing of my problems. ;)

Pop over to the store to check out the cute, cute items available this week!

Or over to Mindy Mae's Market blog to see what else is ORANGE!

Friday, May 18, 2012

Nikki's Niche- Metal Letter...Craft Fail...

Lest you think ALL crafting is perfect...I thought I'd show you my latest and not so greatest. I had this vision of a darling Pink and White Chevron 'W' on a burlap wreath I had made (without taking pictures {GASP!})

My Silhouette isn't working...so I resorted to the "old school" way of cutting vinyl. I printed out the shape from my Silhouette first.

Then I made sure it would fit my vinyl piece and my pre-painted letter 'W'.

Then I began cutting- note the safety scissors. These are the result of  more haircuts, furniture slashes and rock-star-esque wardrobe re-dos. At least I'm safe.

Now. Take note. What you see here IS NOT what you'll get. You'll get the opposite. This, my friends is what I WANTED it to look like...{sigh}.

I was soo anxious to start...I decided to PAINT it instead (the vinyl was more than I was ready for tonight). I took the letter outside, placed the vinyl - with backing still on it- as a template and sprayed.

This is what I got. Opposite of what I wanted. Boo.

Here is the wreath it will reside in after I redo the paint...

Happy Friday All...I bet you need it as much as I do! ;)