Monday, April 16, 2012

Pottery Barn Kids Inspired

Morena really outdid herself on this one:


I love to ogle the Pottery Barn Kids catalog when it shows up in my mailbox, but I can't bring myself to spend *that* much on some of their pieces.  I wanted to turn our breakfast nook into a family workspace where we could do homework and craft together, but I didn't want to spend a lot on it.  By turning to PBK for inspiration and then shopping my house I was able to come up with a room I am very happy with!


 This was an old poster frame that was on it's way to Goodwill.  I found a dry erase board (24 by 36 inches) at Hobby Lobby that fit inside it.  I found the shelf/hook unit at Michael's.  I used Colonial Red spray paint on both pieces to make them match, then hung them together so they look like one cohesive piece.  That cute Come In sign is from Mindy Mae's Market.


 This was an old frame I used to hate.  Amazing what spray paint can do!  I had the calendar made with our family's picture at Vistaprint for free.  One piece of wall art finished for almost nothing!


 I spray painted this frame as well and used my Silhouette cutter to make the subway art (this clip art was purchased from the silhouette store).  I then used transfer tape to apply the vinyl directly to the glass.


 For the art corner, I spray painted some wood pieces from Michael's and cut them to frame an old magnet board I had purchased at IKEA years ago.  The magnets were made using old milk bottle caps purchased at a flea market.


  A picture of the magnet board in progress.
Would you believe I only used one can of spray paint to paint everything? Yeah, its true!


 The caddies were labeled as "CD Holders" at Michaels.  They were also spray painted, and then I added the craft buckets which I already had.  The kids love having easy access to their supplies!


And here is the room in action.  I love that we have a place where we can work and craft together, and have everything we need in easy reach!  I also love the fact that I was able to upcycle so many items I already had.  Instead of buying new things, I was able to give new purpose to things I thought I no longer needed.

Isn't it total fab?! Love that Morena! Be sure to check out her blog for more tutorials! xoxo

 
I hope this inspires you to shop your house for your next project!  I hope you'll visit my corner again, or  follow my blog!  Comments and suggestions are appreciated!
Tip Junkie handmade projects

Friday, April 13, 2012

Just YOURS Phone Cover

Okay, in a search for adorable tutorials that I think are unique and totally fab - Mom 4 Real did NOT let me down! Check out this awesome tutorial on how you can REALLY personalize your phone.  No more spending a fortune on cute covers.. because you can make your very own, very personal, very cute phone cover!


This is one of those projects that I have been dying to do for months, but I was a little scared! There was absolutely no possible way I was paying $50 for the phone case that I actually wanted, so I made my own...complete with my initials on it!
This sweet phone case is made with...wait for it...Paper! I simply laid down a piece of thin scrapbook paper, and traced the phone case. I left about an inch extra of paper all the way around, then painted a thin coat of Mod Podge on the inside of the paper (the white side). If you haven't tried Modge Podge yet, you must do it! It's the best product ever, and I am absolutely not getting paid to say that! Okay...after you paint a coat of Mod Podge on the plain side of your paper, lay your phone case down in the middle, then start pulling it over the edge of the case, and flatten out with your fingers. Now you wait for it to dry...about 2 hours. After it dries, take an x-acto knife and cut (slowly) through the camera lens opening on the case, and the opening for your volume buttons on the case. Once you have done that, paint a thin coat of Mod Podge over the entire case and let dry thoroughly. After your case has dried, use your x-acto knife to trim away any extra paper. I went back the next day and put an additional coat on just to protect it. I also added a vinyl monogram that I cut on my Cricut machine as well.

Please excuse the hideous fingernails...I have been working on many projects.
Also, I had already made my case without taking pictures, because I was concentrating, so these pics are of me showing you how to fold the paper over the case I had already made...they turned out slightly fuzzy because I was holding a camera and folding paper at the same time...can you say multi talented?
I tried this with a very inexpensive case. It took some adjusting, so try not to get frustrated, and maybe get an extra sheet of the same paper ready in case you mess up...I did, and had to start over after the first try.
I absolutely love my case, and nobody else has one exactly like mine! Yay!

Be sure to check out more posts and tutorials by Mom 4 Real!
Tip Junkie handmade projects

Wednesday, April 11, 2012

Front Door Lovin'

Ursie is amazing and she is the sweetest thing!  She is even kind enough to share her stinkin' cute door decor with us!
I LOVE changing out our front door decor.
I have a feeling this piece will probably stay for a while, it's cute, and super functional!
I'll show ya how I made it! :)

First up, I got these frames at Mindy Mae's Market.
I'm pretty much obsessed with these frames!!! Really.
They are made so nicely, great to paint, cover with paper or fabric, all of which I have done!
I also showed you these pillows I got from them, if you missed it, check out this .
Since this was going on the front door, I didn't want it to over the top or seasonal looking, so I went with a nice aqua blue color.
I painted it front and back.
{see that paint on the table? comes off easy so I didn't mind it getting on our dining room table}.
After it was painted, I got a piece of sheet metal that fit inside perfectly, {this frame was 5x7, although you can do any size}.
I used a thin bead of hot glue in the back to make sure it was secure.
Then I grabbed some sand paper, and roughed up the edges to make it distressed. You could use some distress ink if you'd like, I liked the way that it looked so I left it as is.
You could sand it before you put the sheet metal in, but I was to excited to get it put together! :)
Next up, some flowers....
Since I'm kinda addicted to Mindy Mae's, I have a ton of these sweet little flowers.
They're called Cabochons {I'm yet to figure out how to pronounce that word}.
Anyways, I grabbed a few that would coordinate with the front door area....
so many fun colors to choose from.....
I found these little tiny magnets at my local craft store. They have an adhesive side on them.
They were a bit large for the base of my cabochons, so a scissors took care of that for me!
I stuck the magnets to the flowers.
And got some ribbon to hang the frame from.
Some hot glue adheres the ribbon to the frame.
I hot glued some flowers to the front of the frame. And wa-laa!!!
So cute for the front door.
As I have mentioned before, I use tiny little nails and nail in whatever is on the door on the upper edge of the door...leaving the nail out stick out a bit to be able to pull out, but yet not touch the top of the door frame.
Now we have a message board to add fun little notes on the front door.
I have been known to leave messages for the UPS man, like please walk my box to the door, don't just throw it...
I really have not left that note, although I should!!!!! But really....I asked him to leave my box and signed the paper because I was not sure if it was a signature required item and I was not home.
Hah!
I was really liking the way that it looked, but it just needed one more touch:
Twine and fabric fix everything!!
I cut some little triangles to make a tiny bunting!
Here it is opened up. Make sure to cut when the fabric is folded.

I just laid the twine along the top of the fold, put some hot glue in there, and squished it together!

Yay!
I used a dab of hot glue on the back, so if I want to change out the bunting, it will be super easy!

LOVE!
I will be honest, I don't know a Mary, but it was the first name that popped into my head, so I went with it!
I have left an envelope taped to the door before if someone was coming to my house and I was not going to be home. But now, I have a place to put the note!
It even looks super cute with no note!


Like I said, this may stay up for a while, or it would be great to add on the side of the house for notes, if you have a wreath on the door.
I Love Fun and Functional!


Photobucket
Tip Junkie handmade projects

Tuesday, April 10, 2012

We're now BlogLovin'

Springy Straw Wreath

I loved the wreath Jen did over on TT&J...
so I decided to give it a Spring-y Twist!


I started with assorted paper straws....{I used about 76 straws}


 a foam wreath form from the dollar store, a glue gun...

 and I had some old satin-binding from a long-ago quilt project.

 I first cut the binding into two pieces, so that it would go further...just in case.

And  then I started wrapping.
{Don't mind the finger dents- my two year-old was "helping"}
I made sure that the finished edges were the ones showing....so wrap your first loop and then make sure the next loop covers the edge that would fray.

I reached the end of the form, cut the excess, folded the end of the ribbon and glued it down.

I started witht the straws...a little nervous about placement... Something I will say, I wish I would have over-placed the straws a little more- further into the middle of the wreath. Instead of placing them at what looked like the end of the form.

 I first started with a pattern of straw colors and then at the end I had to switch it up a bit because a whole pattern wouldn't fit. See if you can tell where that was....

I liked the look of differing size straws so I cut them in an every-other-one pattern. I just eye-balled it. I rather like the randomness of it that way.

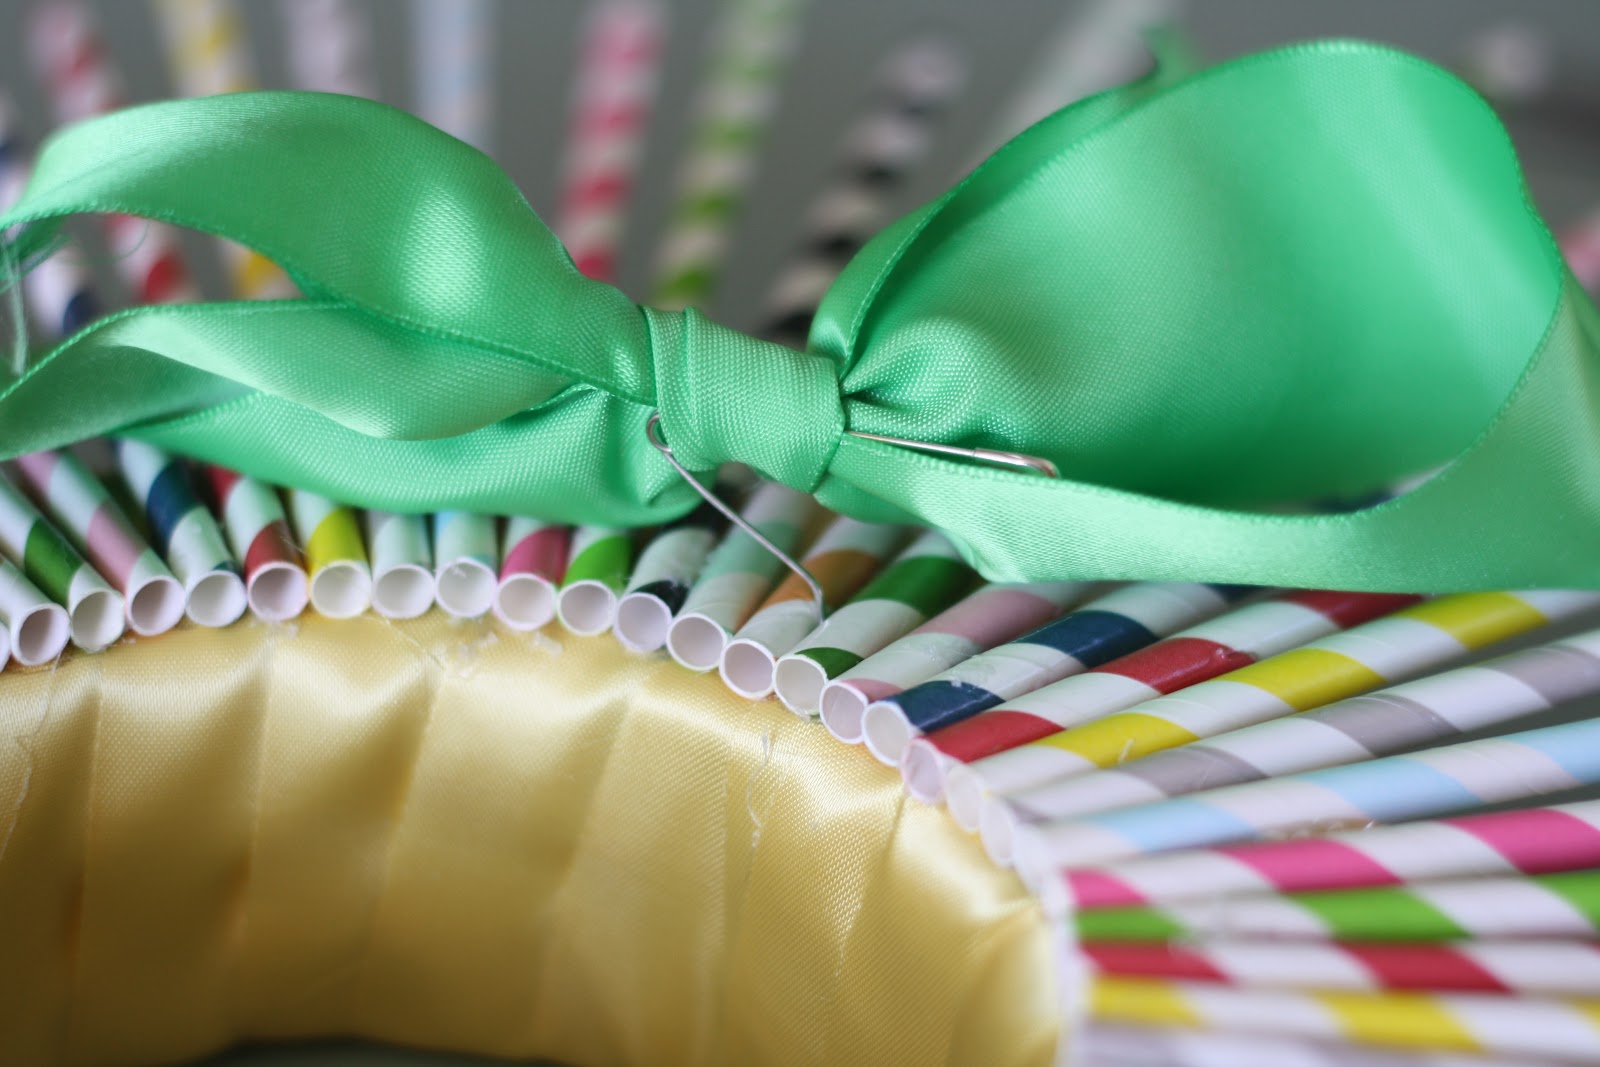
 I finished it off {for now} with a bit of green binding I also had left over...tied it in a bow and secured it with a safety-pin {so that I can change it out next time I feel the need}.


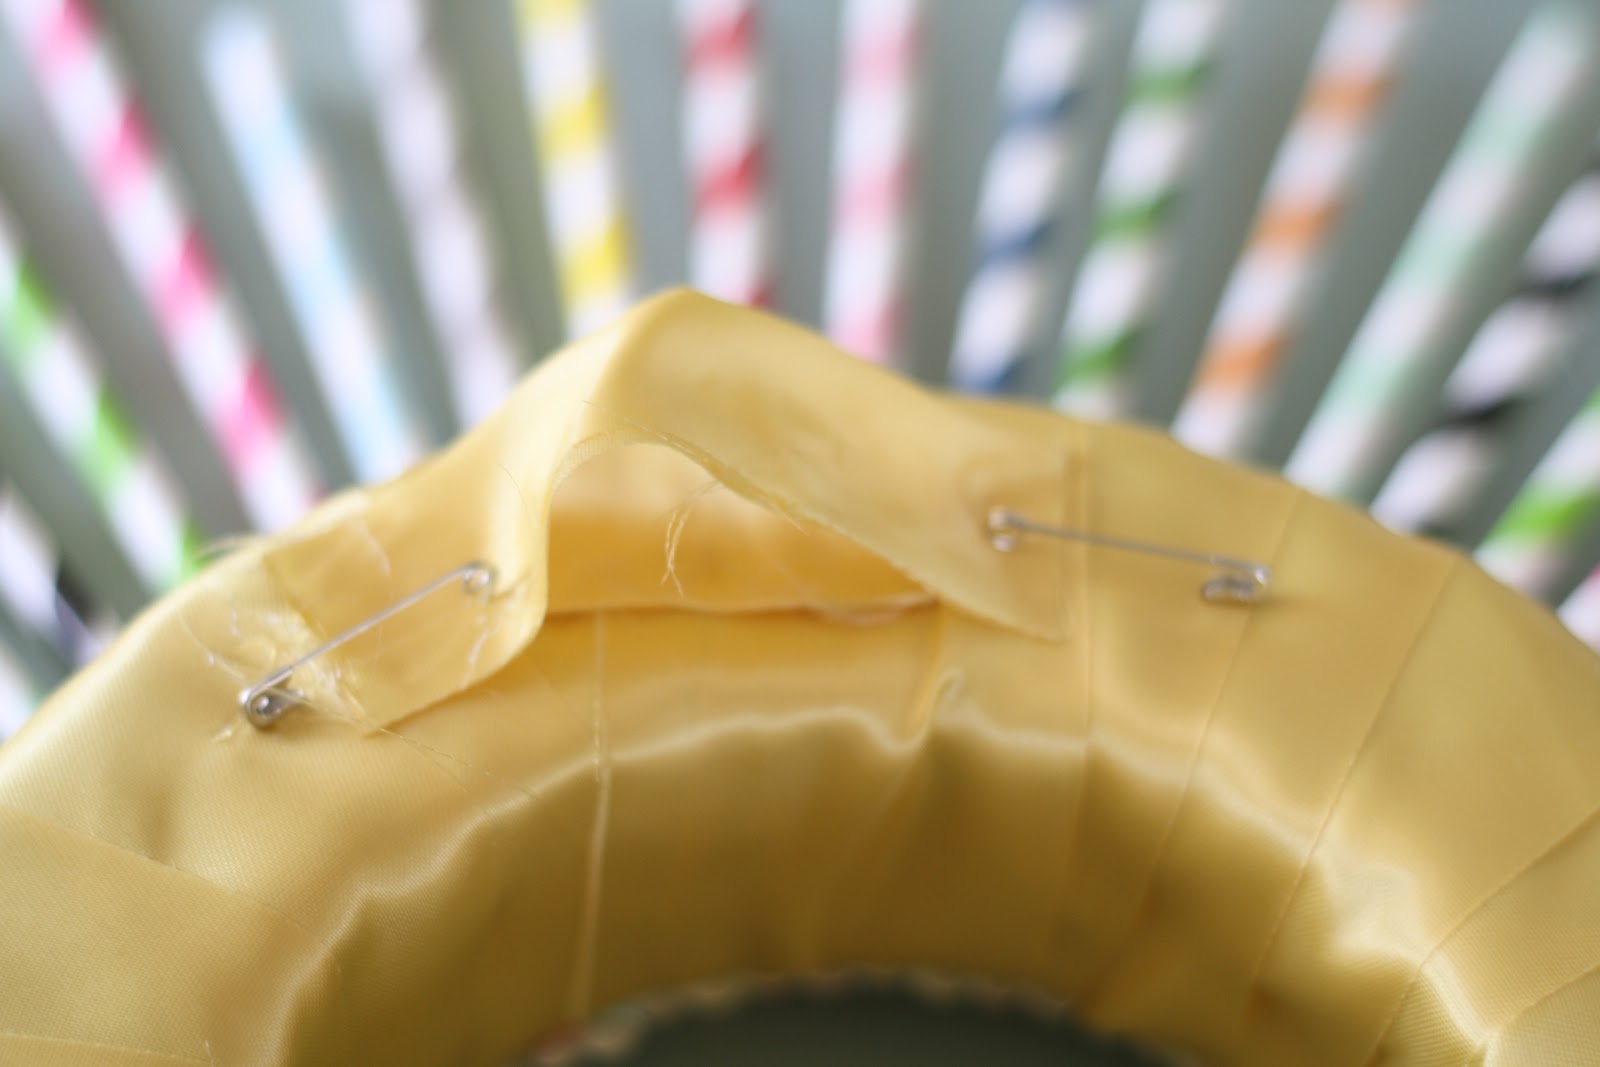
Last, I formed a loop with some left-over {again} yellow binding, folded and glued over, glued to the form and then secured with safety-pins. {I have issues with trusting the staying power of hot glue.}

 Here's the finish product...I LOVE the colors and the airy-ness of it!

 You'll see where this ended up in a future post!
Tip Junkie handmade projects

Monday, April 9, 2012

Candlestick Ribbon Holder

Check out this stinkin' cute way of keeping track of your ribbon obsession! Or your washi tape obsession..or..or..or...  :)

Look at that lovely tower of ribbon! It reminds me of a tall and skinny layer cake set upon a fancy cake stand. I have seen a lot of great horizontal ribbon organizers, but I decided to take that concept and turn it vertically! This ribbon holder stands nearly 3 feet tall and holds an impressive 27 rolls of ribbon (which is only about half of my ribbon collection, so I foresee another one in my near crafty future)!
 
 
I started with a wooden candlestick from Mindy Mae's Market, a 1.5" wooden disk and a 3/8" dowel (cut to approximately 26" long, but you could make it any size you want - just don't go too much taller or it will get wobbly) and gave them all a few coats of watermelon spray paint.
 
Drill a hole in the center of your wood disk and slide the end of your dowel through the hole about 1". It should be a snug fit to ensure that the dowel will sit straightly and not lean to one side. Fill the well and the rim of the candle holder with hot glue, and attach both the disk and the dowel to the candleholder at the same time. You may need to hold it in place for a few minutes until the hot glue starts to set and firm up. 
 
Start stacking up all that pretty ribbon, just like a layer cake. Easy peasy, fun and totally functional! I might just have to make myself another one for my growing collection of washi tape as well!